> For the complete documentation index, see [llms.txt](https://docs.ingestlabs.com/llms.txt). Markdown versions of documentation pages are available by appending `.md` to page URLs; this page is available as [Markdown](https://docs.ingestlabs.com/tag-manager/transformers/add-a-new-transformer-server.md).
# Add a New Transformer (Server)
## Introduction
This document explains step by step how to add Transformers to the server side. All the information required for client-side or server-side configuration is provided.
## Procedure
To add a new Transformer in Tag Manager, perform the following steps:
**Step 1:** In the navigation panel, click ***Transformers*****.**
**Step 2:** Click the ***Add Transformer*** drop-down and select **For Server**.
**Step 3:** Under the ***Info*** section, in the ***Function Name*** field, enter the appropriate name.
**Note**: The Function name must always start with an alphabet, and can only contain letters, numbers and underscores.
**Step 4:** In the ***Description*** field, enter an appropriate description.
**Step 5:** Under the ***Function Arguments*** field, click **Add *****Arguments*****.**
**Step 5.1:** In the ***Name*** field, enter the appropriate name.
**Step 5.2:** Under the ***Value*** field, click ***Select Data Element***.
The ***Select Data Element***** panel** opens on the right side.
Two tabs are available:
* User-defined
* Default
You can select a data element from these tabs or use the search bar.
**Note:** Click the selected argument data element value. The data element details will appear in the right panel.
**Note:** To clear the selected data element value, click the small **X** icon next to it.
**Step 5.3:** The following checkboxes are available:
* Mandatory: Select this checkbox to make the argument required.
* URL Encode: Select this checkbox to encode the value for safe URL transmission.
* Hash (SHA256): Select this checkbox to hash the value using the SHA256 algorithm.
Note: To delete the Argument, click the **Delete** icon on the right-hand corner of the screen.
**Step 6:** To access the Argument, enter the code in the Code section. You can also test the function using the **Test Function** tab on the right-hand corner of the screen.
**Step 7:** Click the **Full Screen** icon  to expand the code and view it in full screen mode.
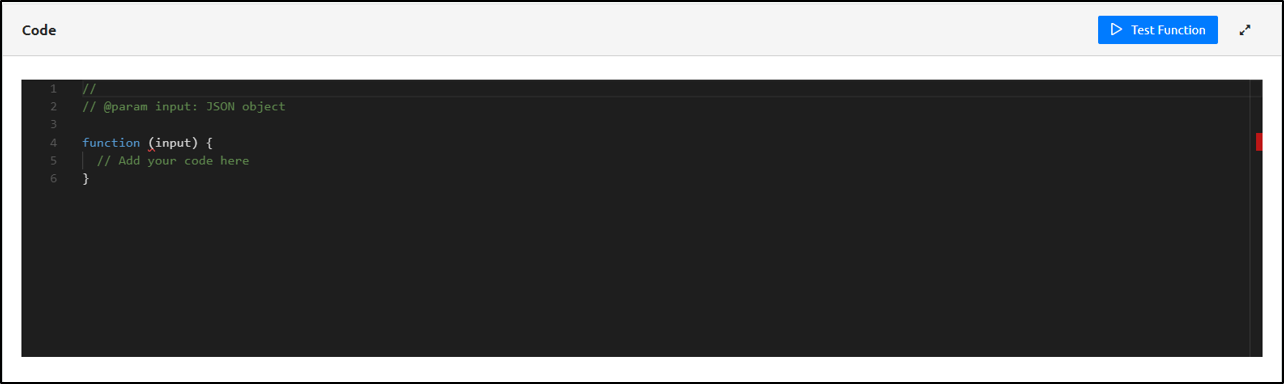
**Step 8:** Click **Test Function**. The **Test Function** panel opens.
**Step 9:** Click the **Select** dropdown and choose an input type:
* **Number** — Use this option if your function requires a numeric input.
* **String** — Use this option if your function requires text input.
* **Boolean** — Use this option if your function requires a true/false value.
* **JSON** — Use this option if your function requires structured data in JSON format.
**Step 10:** Enter the **Argument value** that corresponds to the selected input type.
**Step 11:** Navigate to the **Output** tab to view the result of the executed function.
**Step 12:** Click **Save** to save the Transformer details.
{% embed url="" %}
---
# Agent Instructions
This documentation is published with GitBook. GitBook is the documentation platform designed so that both humans and AI agents can read, navigate, and reason over technical content effectively. Learn more at gitbook.com.
## Querying This Documentation
If you need additional information that is not directly available in this page, you can query the documentation by asking a question.
Perform an HTTP GET request on the following URL with the `ask` and `goal` query parameters:
```
GET https://docs.ingestlabs.com/tag-manager/transformers/add-a-new-transformer-server.md?ask=&goal=
```
`ask` is the immediate question: it should be specific, self-contained, and written in natural language.
`goal` is what the user is ultimately trying to achieve, the reason they need the answer. Sharing it helps GitBook give you a better, more relevant answer. A goal is most helpful when it describes the outcome the user wants rather than restating the question. For example, with `ask=how do I create an API token`, a goal like `automate deployments from our CI pipeline` lets GitBook tailor the answer to that use case.
The response will contain a direct answer to the question and relevant excerpts and sources from the documentation.
Use this mechanism when the answer is not explicitly present in the current page, you need clarification or additional context, or you want to retrieve related documentation sections.


