> For the complete documentation index, see [llms.txt](https://docs.ingestlabs.com/llms.txt). Markdown versions of documentation pages are available by appending `.md` to page URLs; this page is available as [Markdown](https://docs.ingestlabs.com/media-data-platform/data-sources/add-a-data-source.md).
# Add a Data Source
To add a new **Data Source**, follow these steps:
**Step 1**: In the left navigation panel, click **Data Source**.
**Step 2**: Select **Add New Data Source** located at the top-right corner of the screen.
**Step 3**: In the **Name** field, enter the name of the **Data Source**.
**Step 4**: In the **Description** field, enter a brief description of the **Data Source**.
**Step 5**: Under the **Source Type** section, click **Select Source Type** to choose the appropriate option.
**Step 6**: This will open a list of available **Source Types** on the right-hand side. Select the appropriate **Source Type** for your needs. The available options include:
* Cloud Storage
* File Storage
* Database
* Facebook
* Shopify
* Database
### Overview of Source Types
### Cloud Storage
 Click **AWS S3**.
Under the **Connector** section, click **Select Connector** to choose the appropriate option.
When you click **Select Connector**, a **Select Connectors** panel opens on the right-hand side. You can either search and select a connector or create a new connector by clicking **Create Connector**.
Choose the appropriate connector.
**Destination Properties**
Under **AWS Region**, click the **Select** dropdown and choose the appropriate region.

Click the **Bucket Name** field to enter the appropriate name.
Click the **Object Key** field to enter the appropriate key.

**Data Format**
Under the **Data Format** field, in the **Format Type** section, click the **Select** dropdown to choose the appropriate option.

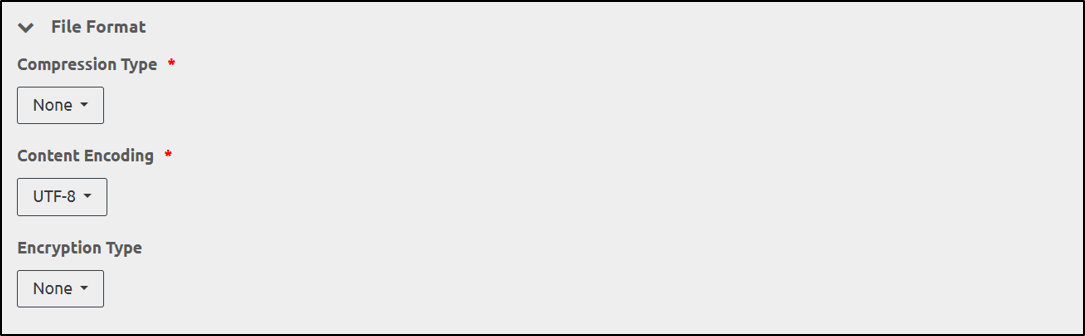
**File Format**
Under **Compression Type**, click the dropdown to select the appropriate option.
Under **Content Encoding**, click the dropdown to select the appropriate option.
Under **Encryption Type**, click the dropdown to select the appropriate option.
### File Storage
 Click **SFTP**.
Under the **Connector** section, click **Select Connector** to choose the appropriate option.
When you click **Select Connector**, a **Select Connectors** panel opens on the right-hand side. You can either search and select a connector or create a new connector by clicking **Create Connector**.
**Data Source Properties**
Click the **Directory Path** field to enter the appropriate path.
Click the **File Pattern** field to enter the appropriate pattern.

**Data Format**
Under the **Data Format** field, in the **Format Type** section, click the **Select** dropdown to choose the appropriate option.

**File Format**
Under **Compression Type**, click the dropdown to select the appropriate option.
Under **Content Encoding**, click the dropdown to select the appropriate option.
Under **Encryption Type**, click the dropdown to select the appropriate option.

### Database
 Click **POSTGRES**.
When you click **Select Connector**, a **Select Connectors** panel opens on the right-hand side. You can either search and select a connector or create a new connector by clicking **Create Connector**.
**Data Source Properties**
Under the **Database Engine** field, click the dropdown to select the appropriate option.
In the **SQL Query** field, enter the appropriate query.

**Placeholders**
Under the **Placeholders** section, click Add.

Click the **Name** field to enter the name of the placeholder.
Click the **Value** field to enter the appropriate value.

Click the **Data Type** dropdown to select the appropriate option.

Click the **Is an Array?** field dropdown to select the appropriate option.

**Note**: By clicking Add More, you can add more items.
**Timestamp Column (To fetch delta set of records)**
Click the **Table Name** field to enter the appropriate name.
Click the **Column Name** field to enter the appropriate name.

**Data Format**
Under the **Data Format** field, in the **Format Type** section, click the **Select** dropdown to choose the appropriate option.

### Facebook
 Click **Facebook Ads**.
When you click **Select Connector**, a **Select Connectors** panel opens on the right-hand side. You can either search and select a connector or create a new connector by clicking **Create Connector**.
**Data Source Properties**
Click the **Fields** section to enter the appropriate information.

Click the **Level** dropdown to select the appropriate option.

Click the **Time Increment (in days)** field to enter the appropriate value.

**Data Format**
Under the **Data Format** field, in the **Format Type** section, click the **Select** dropdown to choose the appropriate option.

**File Format**
Under **Compression Type**, click the dropdown to select the appropriate option.
Under **Content Encoding**, click the dropdown to select the appropriate option.
Under **Encryption Type**, click the dropdown to select the appropriate option.

### Shopify
 Click **Shopify Orders**.
When you click **Select Connector**, a **Select Connectors** panel opens on the right-hand side. You can either search and select a connector or create a new connector by clicking **Create Connector**.
**Data Source Properties**
Click the **Domain** field to enter the appropriate domain.

Click the **API Version** dropdown to select the appropriate option.

Click the **Backdated Orders History (in days)** field to enter the appropriate number of days.

**Data Format**
Under the **Data Format** field, in the **Format Type** section, click the **Select** dropdown to choose the appropriate option.

### Database
 Click **Ingest Labs - Offline Conversions**.
When you click **Select Connector**, a **Select Connectors** panel opens on the right-hand side. You can either search and select a connector or create a new connector by clicking **Create Connector**.
**Data Source Properties**
Click the **Engine Name** field dropdown to select the appropriate option.

Click the **Table Name** field to enter the appropriate name.

**Data Format**
Under the **Data Format** field, in the **Format Type** section, click the **Select** dropdown to choose the appropriate option.

Once you have entered all necessary information, click the **Save** button to save the **Data Source** you’ve created.
{% embed url="" %}
---
# Agent Instructions
This documentation is published with GitBook. GitBook is the documentation platform designed so that both humans and AI agents can read, navigate, and reason over technical content effectively. Learn more at gitbook.com.
## Querying This Documentation
If you need additional information that is not directly available in this page, you can query the documentation dynamically by asking a question.
Perform an HTTP GET request on the current page URL with the `ask` query parameter:
```
GET https://docs.ingestlabs.com/media-data-platform/data-sources/add-a-data-source.md?ask=
```
The question should be specific, self-contained, and written in natural language.
The response will contain a direct answer to the question and relevant excerpts and sources from the documentation.
Use this mechanism when the answer is not explicitly present in the current page, you need clarification or additional context, or you want to retrieve related documentation sections.