> For the complete documentation index, see [llms.txt](https://docs.ingestlabs.com/llms.txt). Markdown versions of documentation pages are available by appending `.md` to page URLs; this page is available as [Markdown](https://docs.ingestlabs.com/media-data-platform/destinations/add-a-new-destination.md).
# Add a New Destination
To add a new **Destination**, follow these steps:
**Step 1**: In the left navigation panel, click **Destination**.
**Step 2**: Select **Add New Destination** located at the top-right corner of the screen.
**Step 3**: In the **Name** field, enter the name of the destination.
**Step 4**: In the **Description** field, enter a brief description of the destination.
**Step 5**: Under the **Destination Type** section, click **Select Destination Type** to choose the appropriate option.
This will open a list of available destination types on the right-hand side. Select the appropriate destination type for your needs. The available options include:
* Cloud Storage
* File Storage
* Database
* Facebook
* Email
* Google
### Overview of Destination Types
## Cloud Storage
A cloud-based repository for securely storing and retrieving structured or unstructured data.
**AWS S3** acts as a connector by enabling seamless data transfer and integration with various applications, allowing users to store and retrieve data directly from S3 buckets.
 Click **AWS S3**.
Click on **Select Destination Type.**
This will open a list of available Destinations on the right-hand side. Click AWS **S3.**
Click **Select Connector**. The **Select Connectors** panel opens on the right side.
Choose one of the following options to select or create a connector:
* **Browse the list**: Scroll through the available connectors and select the desired one.
* **Use the search bar**: Enter the connector name in the search bar and select it from the results.
* **Create a new connector**: Click **Create Connector** to configure a new connector.
**Destination Properties**
**AWS Region**: Denotes the destination region.
Under the **AWS Region** section, click the **Select** dropdown.
Choose the appropriate region from the available options:
* **AWS Ohio (us-east-2)** – Located in the United States, suitable for North American workloads.
* **AWS Mumbai (ap-south-1)** – Located in India, ideal for applications serving South Asia.
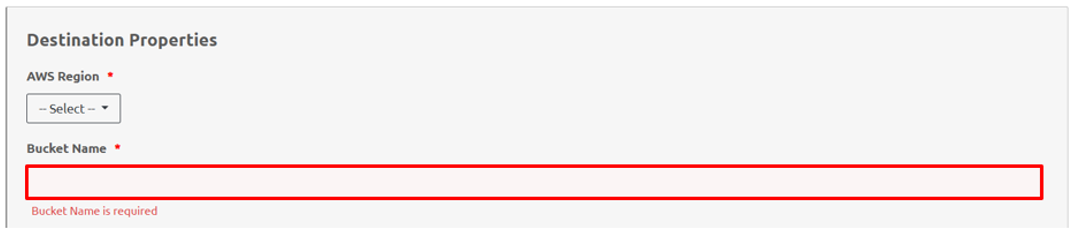
**Bucket Name**: Denotes the name of the **Destination Bucket**.
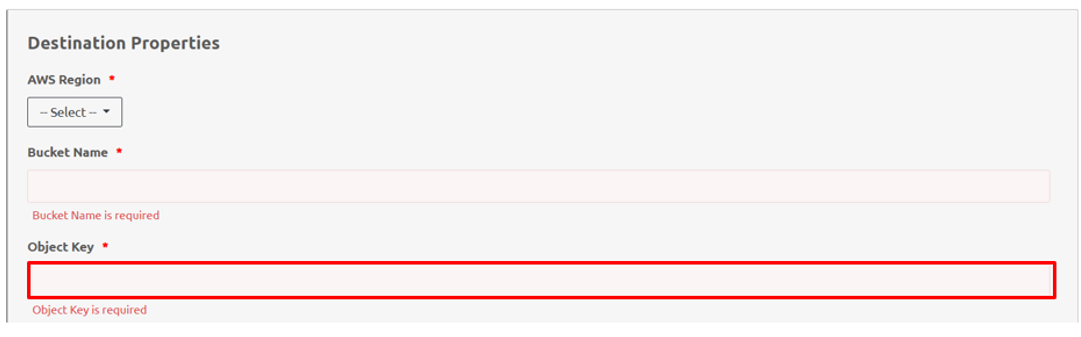
**Object Key**: Refers to the unique identifier for the object in the destination, which is provided by the client.
**Data Format**
Under the **Data Format** section, click the **Select** dropdown to choose the appropriate format type.

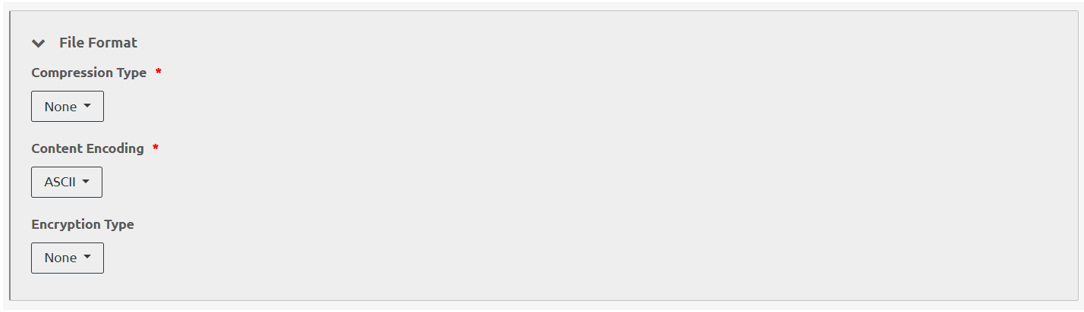
**File Format**
* **Compression Type**: Select the compression format to be uploaded to the destination.
* **Content Encoding**: Select the content encoding from this dropdown menu.
* **Encryption Type**: Select the encryption type to encrypt the data. Add the Encryption Key.
* **Note**: Select 'None' if no encryption required.
Click **Save** to save the **Destination** details.
**Note**: If mandatory fields are not entered, an error message will be displayed.
### File Storage
**SFTP** connectors enable secure file transfers between external SFTP servers and AWS storage services.
 Click **SFTP**.
Click on **Select Connector** under the **Connector** section to choose the appropriate connector.
When you click the **Select Connector** tab, the panel opens on the **right side**. Click the **Search bar** to search for a connector or click **Create Connector** to create a new one.
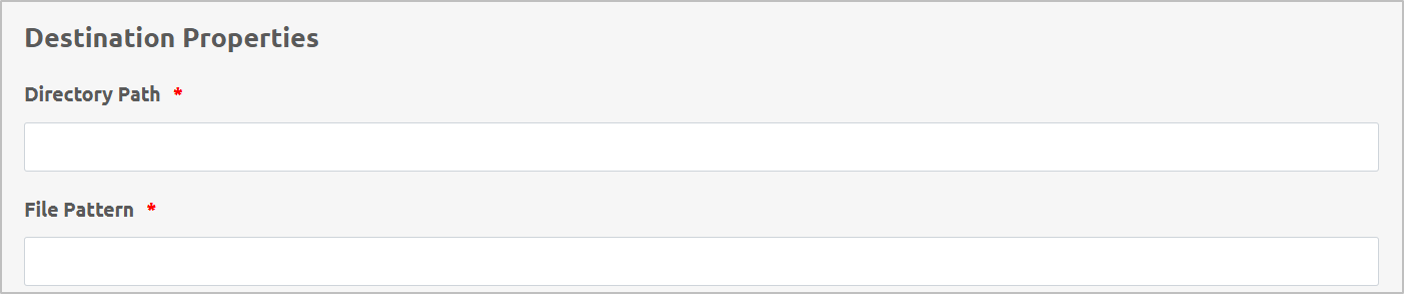
**Destination Properties**
Click **Directory Path** and enter the appropriate directory path to the destination.
Click **File Pattern** and provide the appropriate file pattern for the destination.
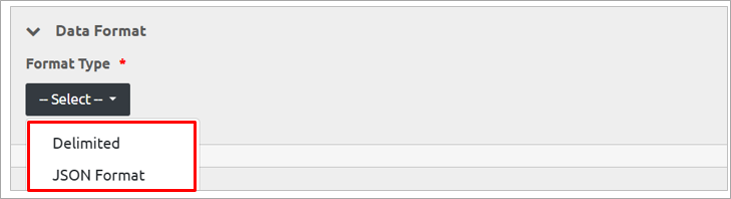
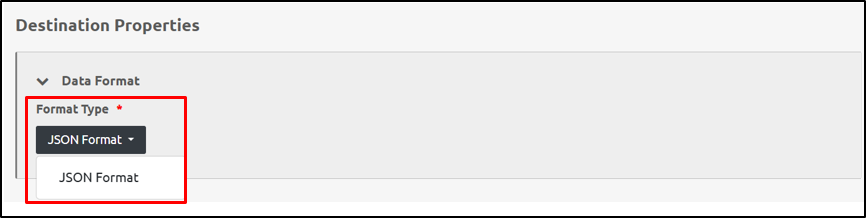
Under the **Data Format** section, click the **Select** dropdown under **Format Type**.
Two options will be displayed:
* Delimited - Data is structured using a specific delimiter (e.g., comma, tab, or pipe) to separate values, commonly used in CSV files.
* JSON Format- Data is stored in **JavaScript Object Notation (JSON)**, a lightweight and readable format that organizes data using key-value pairs.
Choose the appropriate option.
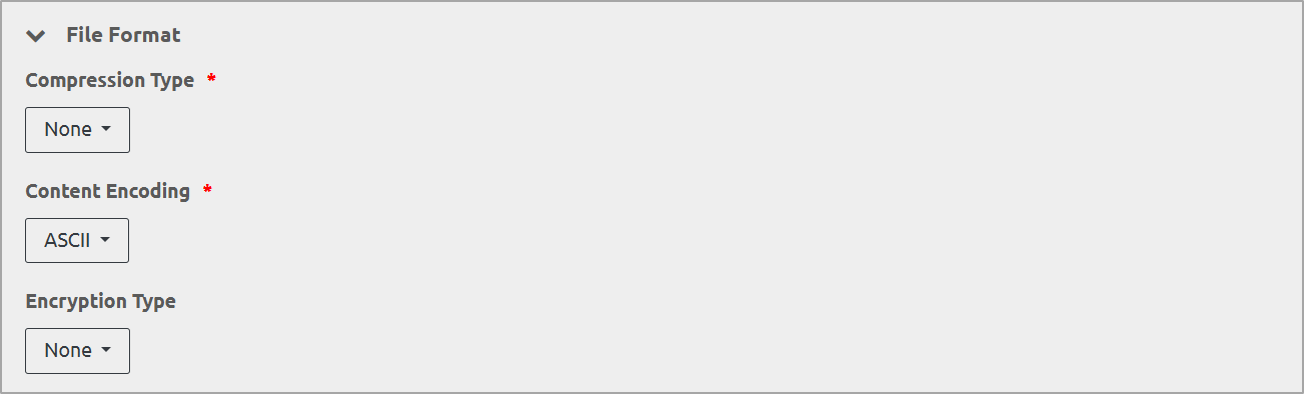
**File Format**
* **Compression Type**: Select the compression format to be uploaded to the destination.
* **Content Encoding**: Select the content encoding from this dropdown menu.
* **Encryption Type**: Select the encryption type to encrypt the data. Add the Encryption Key.
Click **Save** to save the Destination details.
### Database
 Click **Postgres**.
When you click the **Select Connector** tab, the panel opens on the right side. Click the Search bar to search for a connector or click **Create Connector** to create a new one.
**Destination Properties**
Click **Engine Name** dropdown to select the appropriate option.
Click the **Table Name** section to enter the appropriate name.
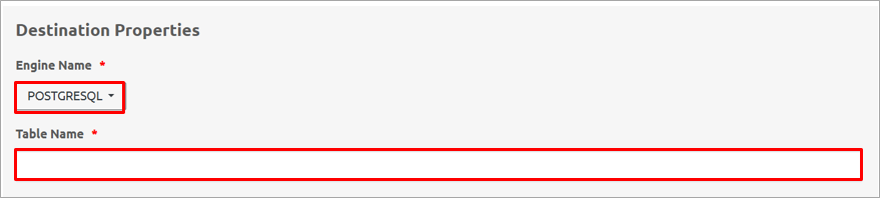
Click **Save** to save the Destination details.
 **Ingest Labs - Offline Conversions**
When you click the **Select Connector** tab, the panel opens on the right side. Click the **Search bar** to search for a connector or click **Create Connector** to create a new one.
**Destination Properties**
Click **Engine Name** dropdown to select the appropriate option.
Click the **Table Name** section to enter the appropriate name.
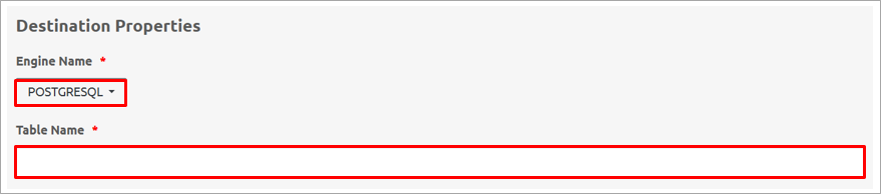
Click **Save** to save the Destination details.
### Facebook
 **Facebook Audience**
When you click the **Select Connector** tab, the panel opens on the right side. Click the **Search bar** to search for a connector or click **Create Connector** to create a new one.
**Destination Properties**
Click the **Audience ID** section to provide the appropriate ID.

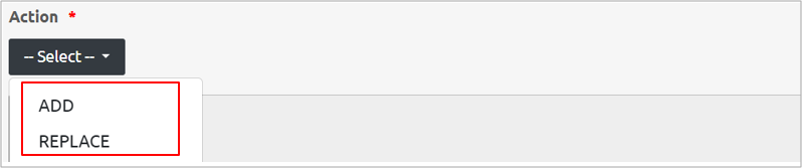
Under the **Action** section, click the Select dropdown. The following options will be displayed:
* Add - Adds new data to the existing audience without removing any existing records.
* Replace - Replaces the entire audience with the new data, removing all previous records.
Select the appropriate option.
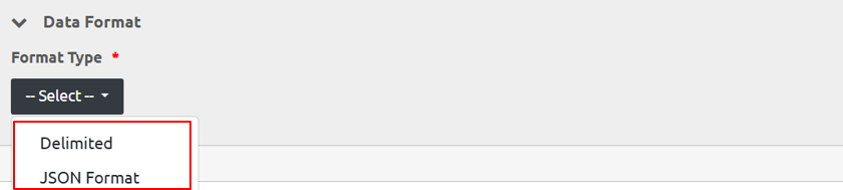
Under the **Data Format** section, click the **Select** dropdown under **Format Type**.
Two options will be displayed:
* Delimited - Stores data in a structured format where values are separated by a specific character
* JSON Format - Uses **JavaScript Object Notation (JSON)** to store data in a hierarchical key-value format, commonly used for APIs and data exchanges due to its readability and flexibility.
Choose the appropriate option.
 **Facebook Conversion API**
When you click the **Select Connector** tab, the panel opens on the right side. Click the **Search** bar to search for a connector or click **Create Connector** to create a new one.
**Destination Properties**
Click the **API Version** field and enter the appropriate version.
Under **Data Format**, click the **Format Type** dropdown and select the appropriate option.
### Email
 **Email Attachment**
When you click the **Select Connector** tab, the panel opens on the right side. Click the **Search** bar to search for a connector or click **Create Connector** to create a new one.
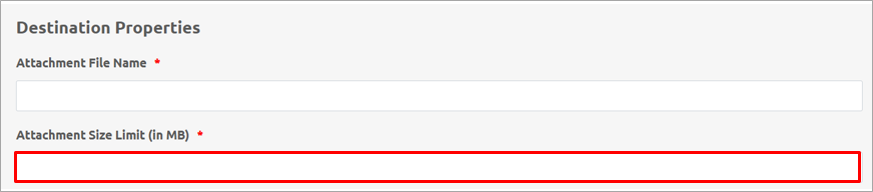
**Destination Properties**
Click the **Attachment File Name** field and enter the appropriate name.
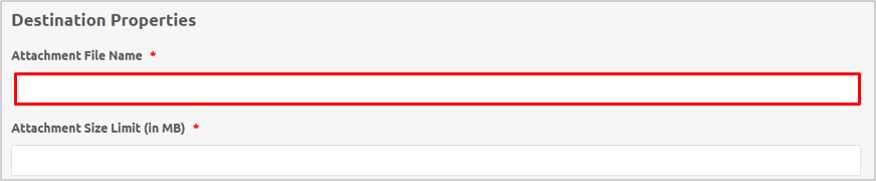
Click the **Attachment Size Limit (in MB)** field and enter the appropriate limit.
Click the **Email IDs** dropdown. When the **Add** button is displayed, click the **Add** button.

Click the **Email ID** section to add the appropriate email address.

Click the **Display Name** section to add the appropriate name.

Click the **Add More** button to add additional email IDs and names.

Click the **Email Subject** dropdown and select the appropriate subject.

Click the **Content** section to provide the appropriate content.

Click the **Body** section dropdown to select the appropriate option.

Under **Content Type**, click the **Select** dropdown. The following options will be displayed:
* HTML - Supports rich formatting, including text styles, images, links, and structured content using Hypertext Markup Language (HTML).
* Plain Text - Contains only unformatted text without any styling, images, or links, ensuring simple and clean content.

Click the **Placeholders** dropdown and select the appropriate placeholder.

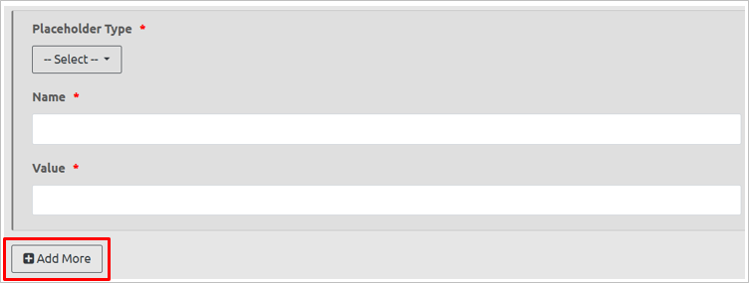
Under the **Placeholder Type** section, click the **Select** dropdown. The following two options will be displayed:
* STRING - A sequence of characters (letters, numbers, or symbols) used for text-based placeholders.
* DATE - A placeholder specifically for date values, ensuring the data follows a valid date format.

Click the **Name** field to enter the appropriate name.

Click the **Value** field to enter the appropriate value.

Click the **Add More** button to add more placeholders.
Click the **Data Format** dropdown and select the appropriate format.

Under the **Format Type** section, click the **Select** dropdown. The following options will be displayed:
* Delimited - Stores data in a structured format where values are separated by a specific character (e.g., comma in CSV files or tab in TSV files), making it easy to process in spreadsheets and databases.
* JSON Format - Uses **JavaScript Object Notation (JSON)** to store data in a hierarchical key-value format, commonly used for APIs and data exchanges due to its readability and flexibility.

Click the **File Format** dropdown and select the appropriate file format.
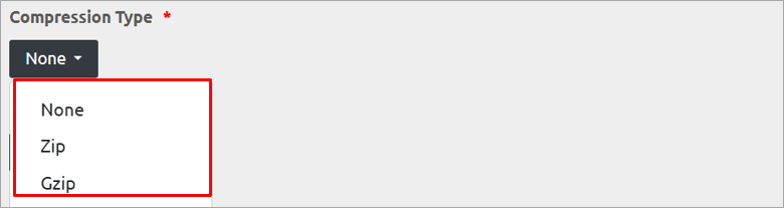
Under the **Compression Type** section, click the dropdown. The following options will be displayed:
* None - No compression is applied; the file remains in its original format.
* Zip - Compresses the file into a **.zip** format, reducing file size and allowing multiple files to be packaged together.
* Gzip - Compresses the file into a **.gz** format, commonly used for single-file compression, especially in Linux environments and data transfers.
Under the **Content Encoding** section, click the dropdown. The following options will be displayed:
* UTF-8 - A widely used character encoding that supports a vast range of characters, including special symbols and multilingual text.
* ASCII - Simpler encoding standard that supports only basic English characters (letters, numbers, and symbols) and is limited to 128 characters.

Under the **Encryption Type** section, click the dropdown. The following options will be displayed:
* None - No encryption is applied; the data remains in its original, readable format.
* PGP (Pretty Good Privacy) - Encrypts the data using PGP encryption, ensuring secure data transmission and protection against unauthorized access.

Click **Save** to save the Destination details.
### Google
 Click **GA4 Measurement Protocol**.
When you click the **Select Connector** tab, the panel opens on the right side. Click the Search bar to search for a connector or click **Create Connector** to create a new one.
**Destination Properties**
Under **Data Format**, click the **Format Type** dropdown to select the appropriate format for your data export.
Click **Save** to save the **Destination** details.
{% embed url="" %}
---
# Agent Instructions
This documentation is published with GitBook. GitBook is the documentation platform designed so that both humans and AI agents can read, navigate, and reason over technical content effectively. Learn more at gitbook.com.
## Querying This Documentation
If you need additional information that is not directly available in this page, you can query the documentation dynamically by asking a question.
Perform an HTTP GET request on the current page URL with the `ask` query parameter, and the optional `goal` query parameter:
```
GET https://docs.ingestlabs.com/media-data-platform/destinations/add-a-new-destination.md?ask=&goal=
```
`ask` is the immediate question: it should be specific, self-contained, and written in natural language.
`goal` is optional and describes the broader end goal you are ultimately trying to accomplish on behalf of the user. GitBook uses it to tailor the answer towards what is most useful for that goal.
The response will contain a direct answer to the question and relevant excerpts and sources from the documentation.
Use this mechanism when the answer is not explicitly present in the current page, you need clarification or additional context, or you want to retrieve related documentation sections.