> For the complete documentation index, see [llms.txt](https://docs.ingestlabs.com/llms.txt). Markdown versions of documentation pages are available by appending `.md` to page URLs; this page is available as [Markdown](https://docs.ingestlabs.com/media-data-platform/pipelines/edit-pipeline-destinations.md).
# Edit Pipeline Destinations
After creating a pipeline, you can edit the **Destinations** to define the external destinations for exporting the data. You can select more than one destination.
Perform the following steps to edit the Destination:
**Step 1**: From the left navigation panel, select **Pipelines**.
**Step 2**: Click the pipeline you want to edit.
**Step 3**: Click the **Destinations** tab.
**Step 4**: Click **Add Destination**.
**Note**: You can add any number of **Destinations** in this field.
**Step 5**: When you click **Add Destination**, the **Destination** panel will open on the right. Click **Select Destination** to choose the appropriate option.
**Step 6**: Select a suitable destination from the **Select Destination** dropdown menu.
**Step 7**: **Schema Fields**
**Step 7.1**: Complete the required information in the **Schema Fields** section.
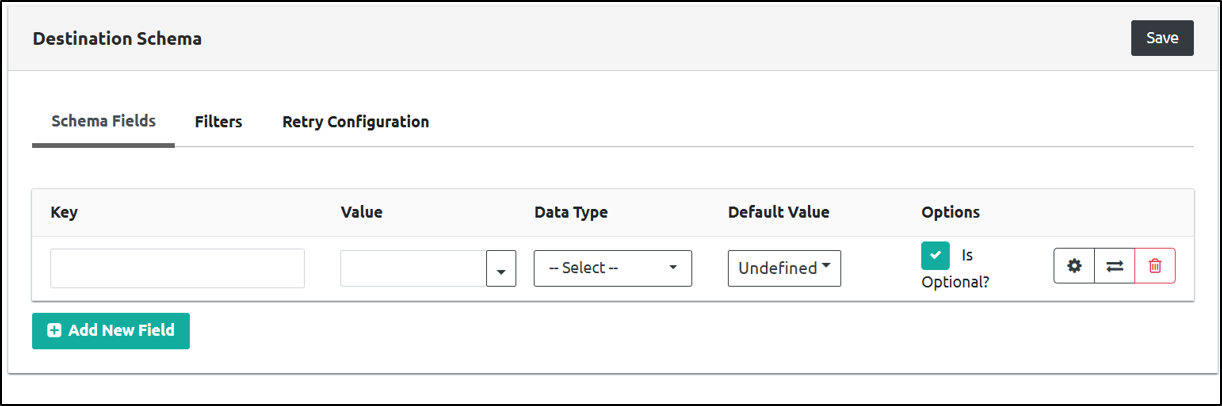
| Item Name | Description |
| ----------------- | ------------------------------------------------------------------------------------------------------------------------------------------------------- |
| **Key** | Denotes the column name of the schema field for exporting data. Create a key to denote a category like browser, campaign ID, and number of conversions. |
| **Value** | Select the value of the data source schema: Source Field, Function, JSON Path, URL Param. |
| **Data Type** | Select the data type for exporting data: Number, String, Boolean, Date, Json, Json(withno schema). |
| **Default Value** | Select from the following default values: Empty String, Undefined, Null, Custom Value. |
**Step 7.2**: The Optional checkbox is selected by default. Unselect the checkbox to make it a mandatory schema field.
**Note**: The settings, transformation or delete functions are similar to the functions in **Edit a Data Source.**
**Step 7.3**: Click **Save** at the top right of the screen.
**Step 7.4**: A confirmation popup message will appear: **Destination was added successfully to the pipeline**.
**Note 1**: You can add any number of transformations in the Destinations field.
**Note 2**: To update a transformation, click the settings icon next to it.
**Note 3**: To delete a transformation, click the delete icon next to the transformation function.
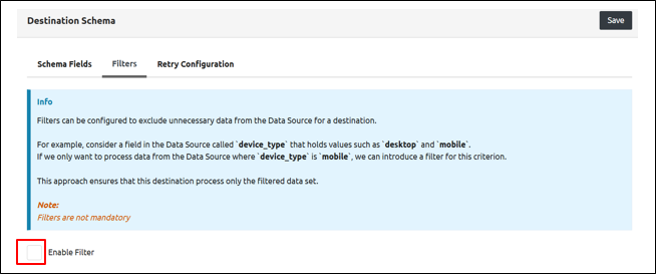
**Step 8**: Filters
**Step 8.1**: When you select the **Enable Filter** checkbox, the Function tab becomes available.
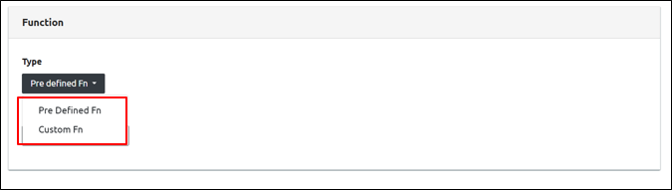
**Step 8.2**: In the **Function** field, under the **Type** dropdown, the following options are available:
* Pre-Defined Function - Built-in function
* Custom Function - User-defined function tailored to specific requirements.
**Step 8.3**: Click **Pre-Defined Function**.
**Step 8.4**: Click the **Function** field dropdown and choose the appropriate function type.

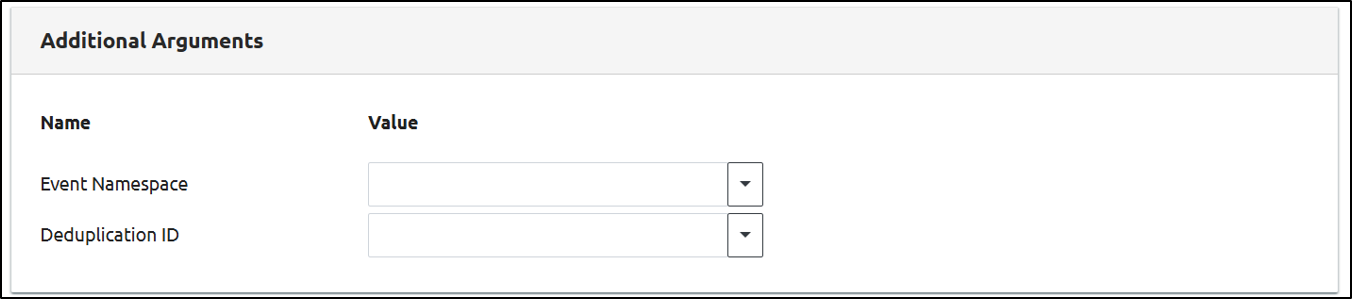
**Step 8.5**: When you select a function type, the **Additional Arguments** section appears with two fields:
* Name
* Value
**Step 8.6**: For **Event Namespace**, click the dropdown and select the appropriate value.
**Step 8.7**: For **Deduplication ID**, click the dropdown and select the appropriate value.
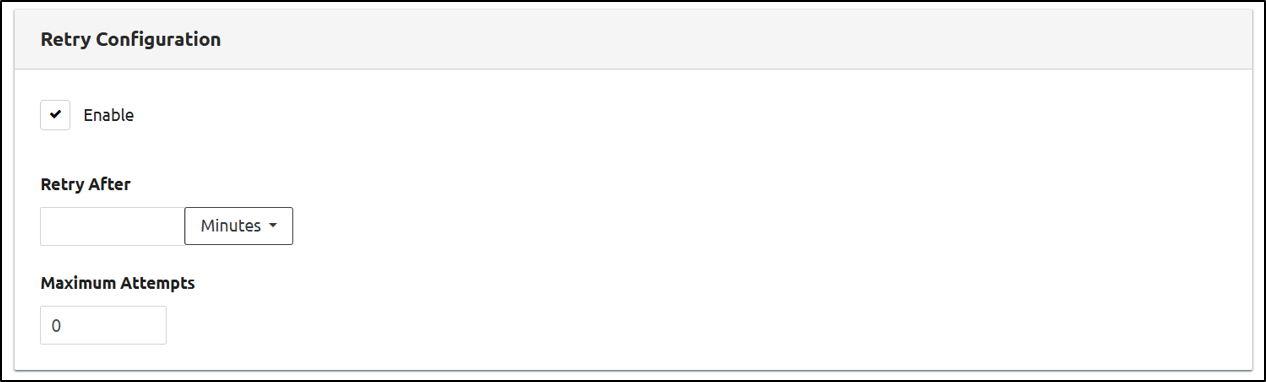
**Step 9**: Retry Configuration.
**Step 9.1**: The **Enable** checkbox is already selected by default.
Under the **Retry After** field dropdown, you can choose from the following options:
* Seconds
* Minutes
* Hours
Click to select the appropriate option.
**Step 9.2**: Use the up and down arrows in the **Maximum Attempts** field to set the desired value.
**Step 9.3**: Click the **Save** button to save your changes.
---
# Agent Instructions
This documentation is published with GitBook. GitBook is the documentation platform designed so that both humans and AI agents can read, navigate, and reason over technical content effectively. Learn more at gitbook.com.
## Querying This Documentation
If you need additional information that is not directly available in this page, you can query the documentation dynamically by asking a question.
Perform an HTTP GET request on the current page URL with the `ask` query parameter, and the optional `goal` query parameter:
```
GET https://docs.ingestlabs.com/media-data-platform/pipelines/edit-pipeline-destinations.md?ask=&goal=
```
`ask` is the immediate question: it should be specific, self-contained, and written in natural language.
`goal` is optional and describes the broader end goal you are ultimately trying to accomplish on behalf of the user. GitBook uses it to tailor the answer towards what is most useful for that goal.
The response will contain a direct answer to the question and relevant excerpts and sources from the documentation.
Use this mechanism when the answer is not explicitly present in the current page, you need clarification or additional context, or you want to retrieve related documentation sections.